How to Connect to Exchange Online PowerShell: Step-by-Step Guide
Short answer:
You can connect to Exchange Online PowerShell by installing the
ExchangeOnlineManagement module and then running
Connect-ExchangeOnline. The connection uses modern
authentication and supports accounts protected with MFA.
Exchange Online PowerShell is one of the most useful tools for Microsoft 365
administrators. The Microsoft 365 admin center is excellent for everyday
management, but PowerShell becomes much more useful when you need to manage
many mailboxes, investigate configuration, automate repetitive tasks, or work
with settings that are difficult to manage manually.
The good news is that connecting is much easier than it used to be. Microsoft
uses the modern ExchangeOnlineManagement module rather than
the old Basic Authentication connection methods.
Microsoft’s current documentation confirms that the Exchange Online PowerShell
module uses modern authentication and supports connections with or without
multifactor authentication (MFA).
Quick Answer
Install → Connect → Verify → Disconnect
- Open PowerShell.
- Install the ExchangeOnlineManagement module.
- Run Connect-ExchangeOnline.
- Sign in with your Microsoft 365 account.
- Run a simple Exchange command to verify the connection.
- Disconnect when finished.
What You’ll Need
- A Microsoft 365 tenant with Exchange Online.
- A Microsoft 365 account with the required Exchange permissions.
- PowerShell on your computer.
- Internet connectivity.
- The ExchangeOnlineManagement PowerShell module.
- MFA or another authentication method configured by your organization,
if required.
Important:
Having Microsoft 365 admin rights does not automatically mean you can run
every Exchange Online cmdlet. Exchange Online uses role-based access control
(RBAC), so the permissions assigned to your account determine what you can
actually manage.
Step 1 — Check PowerShell
Open PowerShell and check which version you are using:
$PSVersionTable.PSVersion
You don’t need to memorize the output. The important thing is to know which
PowerShell environment you are working in before troubleshooting installation
or authentication problems.
Step 2 — Install Exchange Online PowerShell Module
The module you need is called:
ExchangeOnlineManagement
Install the current public version from the PowerShell Gallery:
Install-Module -Name ExchangeOnlineManagement
If PowerShell asks whether you trust the repository, review the prompt and
confirm it if your organization’s security policy allows installation from
the PowerShell Gallery.
Check Whether It Is Already Installed
Get-InstalledModule ExchangeOnlineManagement
Microsoft documents Install-Module for first-time
installation and Update-Module for updating an existing
installation.
Update the Module
Update-Module -Name ExchangeOnlineManagement
Senior admin tip:
Don’t blindly update production administration systems immediately after a
new module release. Test changes in your normal administration process first,
especially if you depend on automation scripts.
Step 3 — Load the Module
Once installed, load the module into your PowerShell session:
Import-Module ExchangeOnlineManagement
In many cases, PowerShell can load the module automatically when you run
the connection command, but explicitly importing it makes troubleshooting
easier for junior administrators.
Step 4 — Connect to Exchange Online
Now run the main connection command:
Connect-ExchangeOnline
Microsoft’s recommended connection method uses modern authentication. A
Microsoft sign-in window may appear where you authenticate with your account
and complete MFA if required.
You can also specify your administrator account directly:
Connect-ExchangeOnline -UserPrincipalName admin@contoso.com
Replace admin@contoso.com with your actual Microsoft 365
administrator account.
MFA users:
You do not need to disable MFA to use the normal interactive
Connect-ExchangeOnline method. The Exchange Online module supports modern
authentication and MFA.
Commands You’ll Actually Need
Connect
Connect-ExchangeOnline
Connect With a Specific Account
Connect-ExchangeOnline -UserPrincipalName admin@contoso.com
Check Exchange Mailboxes
Get-EXOMailbox -ResultSize 10
Check a Specific Mailbox
Get-EXOMailbox -Identity user@contoso.com
Check the Current Connection
Get-ConnectionInformation
Disconnect
Disconnect-ExchangeOnline
Real-World Example
Imagine you are a Microsoft 365 administrator and need to check whether a
mailbox exists for a new employee.
Instead of opening several pages in the Microsoft 365 admin center, you can
connect and check directly:
Connect-ExchangeOnline

Get-EXOMailbox -Identity john@contoso.com
If the mailbox exists and your account has the required permissions, Exchange
Online returns the mailbox information.
When you finish:
Disconnect-ExchangeOnline
Common Errors
1. “Connect-ExchangeOnline is not recognized”
This normally means the Exchange Online module isn’t installed or loaded.
Try:
Import-Module ExchangeOnlineManagement
If that fails, check whether the module exists:
Get-Module ExchangeOnlineManagement -ListAvailable
2. Authentication Failure
Check your username, MFA process and whether the account is allowed to access
Exchange Online PowerShell.
Also verify that your organization isn’t blocking the required network
connectivity.
3. Access Denied
Successful authentication doesn’t automatically provide permission to every
Exchange command.
Exchange Online uses RBAC. Your assigned Exchange roles determine what you
can manage.
4. Module Installation Error
If installation fails, check your PowerShellGet and PackageManagement
components and your access to the PowerShell Gallery.
Troubleshooting
Problem: Module isn’t found
Check:
Get-Module ExchangeOnlineManagement -ListAvailable
Problem: Authentication doesn’t complete
Check: Sign-in account, MFA and network connectivity.
Problem: You connected but a command is denied
Check: Exchange Online RBAC permissions.
Problem: Connection fails after importing other modules
Check: Try opening a fresh PowerShell session and connect before
loading additional modules. Microsoft documents module conflicts as one
possible cause of connection failures.
What If the Computer Has No Browser?
PowerShell 7 supports device authentication for supported Exchange Online
PowerShell module versions.
Run:
Connect-ExchangeOnline -Device
PowerShell provides a sign-in URL and a temporary code. You complete the
authentication in a browser on another device.
When is this useful?
This is particularly useful when you’re administering a server that doesn’t
have a normal web browser available.
What About Automation?
Interactive administrator sign-in is ideal when a person is sitting at the
keyboard. It isn’t the right approach for an unattended scheduled script.
For automation, Microsoft documents app-only authentication,
including certificate-based authentication using a Microsoft Entra
application.
Connect-ExchangeOnline `
-AppId "YOUR-APP-ID" `
-CertificateThumbprint "YOUR-CERTIFICATE-THUMBPRINT" `
-Organization "contoso.onmicrosoft.com"
Security warning:
Don’t put a normal administrator password directly into scripts. For
unattended automation, use an appropriate application authentication design
and grant only the permissions the automation actually requires.
Best Practices
1. Use modern authentication.
Use Connect-ExchangeOnline rather than old Basic Authentication techniques.
Microsoft documents Basic Authentication connection methods as historical and
no longer supported.
2. Use least privilege.
Give administrators only the Exchange roles they actually need.
3. Keep the module updated.
Regularly review the installed ExchangeOnlineManagement version and maintain
a supported version.
4. Test scripts before production.
A PowerShell command can change hundreds or thousands of objects very quickly.
Test destructive or bulk operations carefully.
5. Disconnect when finished.
For interactive administration, cleanly close the Exchange Online session when
your work is complete.
Pros and Cons
| Pros | Cons |
|---|---|
| Fast administration | Commands can make large-scale changes quickly |
| Excellent for repetitive tasks | Requires PowerShell knowledge |
| Easy to automate | Permissions and RBAC can be confusing initially |
| Works well with Microsoft 365 administration | Module and authentication issues can occasionally require troubleshooting |
Related Articles
→ Essential Exchange Online PowerShell Commands
→ Exchange Online Mailbox Management with PowerShell
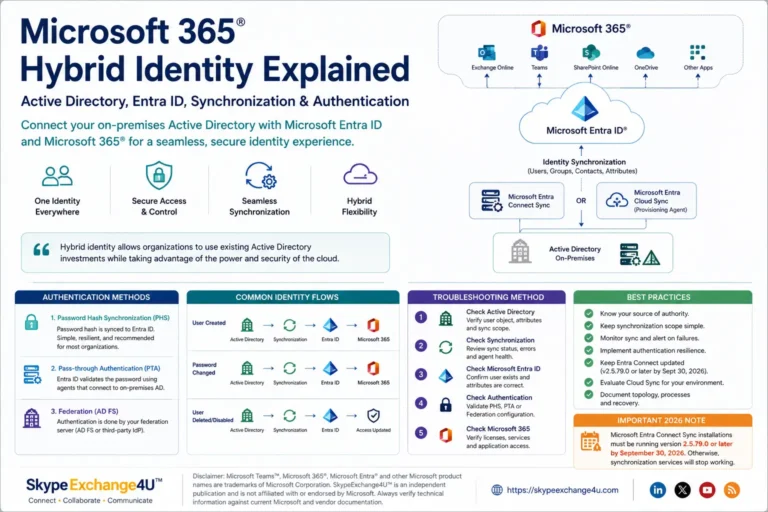
→ Microsoft 365 Hybrid Identity: Active Directory and Entra ID
Final Takeaway
Connecting to Exchange Online PowerShell doesn’t need to be complicated.
For most administrators, the process is simply:
Install → Connect → Verify → Manage → Disconnect
Once you’re comfortable with the connection process, PowerShell becomes one
of the fastest ways to manage Exchange Online and automate repetitive
Microsoft 365 administration tasks.